


How To Make An Insulated Cooler Bag: Step-By-Step Guide
Jul 22, 2026
Leave a message
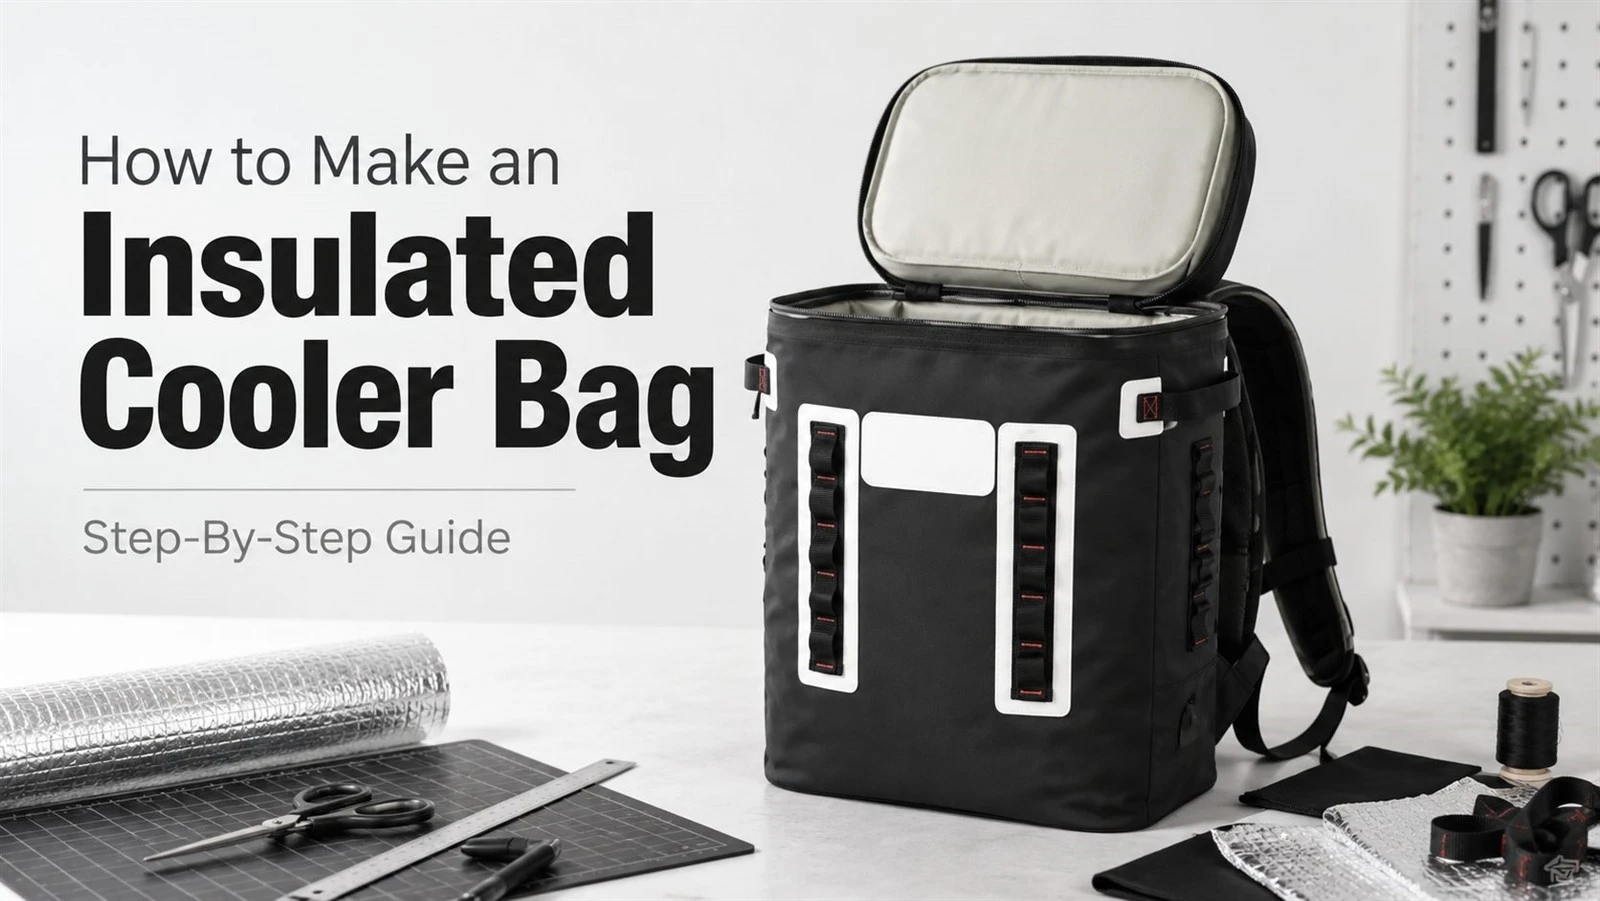
An insulated cooler bag is a soft bag designed to slow heat transfer and keep food or drinks cold for longer. It does not create cold by itself. Its performance comes from a layered structure: a durable outer shell, insulation foam, a reflective thermal layer, a waterproof inner liner, and a tight closure.
This guide explains how to make an insulated cooler bag, what materials to use, how each layer works, and where DIY construction differs from professional cooler bag manufacturing.
What Makes an Insulated Cooler Bag Work?
An insulated cooler bag works by reducing heat movement between the inside of the bag and the outside environment. In simple terms, it slows down the process that makes cold drinks warm up or hot food cool down.
There are three types of heat transfer involved.
Conduction happens when heat passes through solid materials. Foam insulation helps reduce this. Flexible foam, such as EPE foam, EVA foam, or PE foam, traps air inside small cells. Air is a poor heat conductor, so the foam layer slows down temperature change.
Radiation happens when heat moves through infrared energy. A reflective layer, usually aluminum foil or metallized film, helps reflect radiant heat away from the bag interior. This is why many cooler bags have a shiny silver lining.
Convection happens when warm air enters and cold air escapes. A tight zipper, Velcro flap, roll-top closure, or sealed lid reduces air exchange. Even thick insulation performs poorly if the opening does not close well.
A cooler bag works best when insulation, reflective lining, tight sealing, and cold sources work together. Ice packs, gel packs, or frozen bottles provide the cold. The cooler bag helps that cold last longer.
Materials and Tools Needed to Make an Insulated Cooler Bag
The materials you choose will decide how durable, waterproof, easy to clean, and thermally efficient the final cooler bag will be. For a simple DIY insulated cooler bag, basic sewing materials may be enough. For a stronger outdoor or commercial cooler bag, the material choice needs to be more precise.
Outer Shell Materials
The outer shell is the visible outside layer of the bag. It protects the insulation, carries the weight, and gives the cooler bag its shape and appearance.
Common outer shell materials include:
| Material | Best Use | Main Advantage |
|---|---|---|
| Polyester | Lunch bags, grocery cooler bags, promotional bags | Affordable, lightweight, easy to print |
| Nylon | Outdoor cooler bags, travel use | Strong, flexible, abrasion-resistant |
| Oxford fabric | Daily-use cooler bags, picnic bags | Durable texture, good structure |
| Canvas | DIY bags, casual cooler totes | Natural look, easy to sew |
| TPU or PVC tarpaulin | Waterproof cooler bags, outdoor soft coolers | Strong water resistance and easy cleaning |
For outdoor waterproof cooler bags, coated polyester, nylon, TPU tarpaulin, or PVC tarpaulin are more suitable than untreated cotton or canvas. Cotton can work for a handmade bag, but it absorbs moisture and is harder to clean.
Insulation and Reflective Layers
The insulation layer is the core of a cooler bag. It slows temperature change and gives the bag its padded structure.
Common cooler bag insulation materials include EPE foam, EVA foam, PE foam, polyurethane foam, and closed-cell foam. EPE and PE foam are widely used in soft cooler bags because they are light, flexible, and cost-effective. EVA foam is denser and gives better structure, but it usually costs more.
A reflective layer is often added inside the insulation structure. Aluminum foil, aluminum film, or metallized film helps reflect radiant heat. This layer does not replace foam insulation. It works with the foam to improve performance.
Thicker insulation usually improves temperature retention, but thickness is not the only factor. A loose zipper, poor seam construction, or large empty air gaps inside the bag can reduce performance quickly.
Inner Liner, Closures, and Accessories
The inner liner is the material that touches the inside of the cooler bag. It should be waterproof, easy to wipe clean, and suitable for food-related use.
Common inner liner options include PEVA, food-safe vinyl, TPU liner, coated nylon, and aluminum foil laminated lining. For higher-end waterproof cooler bags, TPU liner is often preferred because it is flexible, durable, and suitable for heat-sealed construction.
Closures and accessories also matter. A zipper creates a better seal than an open tote-style top. Velcro can improve closure pressure. Webbing straps, D-rings, buckles, binding tape, and reinforced stitching help the bag carry weight safely.
The basic tools for DIY construction include a sewing machine, scissors or rotary cutter, ruler, clips, pattern paper, fabric glue, webbing, zipper, and thread. For professional production, heat sealing machines, high-frequency welding equipment, cutting dies, and quality testing tools may also be used.
Choose the Right Size, Shape, and Layer Structure
Before cutting fabric, decide what the cooler bag needs to carry. A lunch cooler, grocery bag, delivery bag, and camping soft cooler do not need the same shape.
A small bag should be compact and easy to carry. A delivery cooler bag needs more internal volume and stronger structure. A large outdoor cooler bag needs reinforced handles, a stable bottom, and better waterproofing.
Common Cooler Bag Size References
| Capacity | Best For | Design Notes |
|---|---|---|
| 12–20L | Lunch, short grocery trips, daily drinks | Compact, lightweight, easy to carry |
| 20–35L | Picnics, family trips, meal delivery | Good balance of capacity and portability |
| 35–60L | Catering, grocery delivery, larger cold-chain use | Needs stronger handles, reinforced bottom, and thicker insulation |
These ranges are general references. The actual size should depend on what the user carries most often. A 20L cooler bag with good insulation and a tight zipper may perform better than a 35L bag with loose construction. For more detailed capacity planning, you can also refer to this cooler bag size guide.
Shape also affects usability. A square or box-bottom cooler bag stands upright better and uses space more efficiently. A tote-style cooler is easy to carry but may lose shape when heavily loaded. A backpack cooler is better for outdoor use because it keeps the hands free.
Recommended Layer Structure
A reliable insulated cooler bag usually uses this structure:
| Layer | Function |
|---|---|
| Outer shell | Provides durability, water resistance, and brand appearance |
| Foam insulation | Slows heat transfer and supports the bag shape |
| Reflective layer | Helps reflect radiant heat |
| Inner liner | Creates a waterproof, food-safe, easy-clean surface |
| Closure system | Reduces air exchange and improves cooling performance |
This structure is the foundation of both DIY cooler bags and factory-made insulated cooler bags. The difference is how accurately each layer is cut, assembled, sealed, and tested.
Step-by-Step Guide: How to Make an Insulated Cooler Bag
The following process explains how to make a simple insulated cooler bag from scratch. It can be adapted for lunch bags, picnic cooler bags, grocery bags, or small soft coolers.
Step 1: Design the Bag Size and Pattern
Start with the intended use. A lunch bag may only need space for a container, fruit, and a small ice pack. A picnic cooler bag needs more width and a stronger bottom. A delivery cooler bag needs a larger opening and better structure.
Sketch the front, back, side panels, bottom panel, and lid or top opening. Add about 1–2 cm seam allowance on each edge. This extra material is needed for sewing, binding, and turning the edges.
Remember that insulation thickness reduces internal space. If the outer size is 30 cm wide, the usable inside width will be smaller after adding foam and lining.
For a more stable bag, design a flat bottom instead of a simple pouch shape. A box-bottom structure helps the cooler bag stand upright and makes packing easier.
Step 2: Cut the Outer Fabric, Insulation, and Liner
Cut each layer separately: outer shell fabric, foam insulation, reflective layer, and inner liner. Keep the pieces aligned in size and shape.
Use sharp scissors or a rotary cutter to get clean edges. For synthetic fabrics such as polyester or nylon, heat cutting can reduce fraying. If heat cutting is not available, binding tape can help finish the edges later.
Avoid using pins through foam or reflective insulation if possible. Pins create holes and may damage the insulation layer. Sewing clips are better for holding thick layers together.
Cut the insulation slightly smaller than the outer fabric if the seams become too bulky. This helps the edges fold more cleanly during sewing.
Step 3: Assemble the Layers
Lay the outer shell flat first. Place the foam insulation over it. Add the reflective layer next, with the reflective side facing inward. Then place the waterproof liner on the inside surface.
Keep the layers smooth. Wrinkles, folds, and gaps can create weak spots in both appearance and thermal performance.
For DIY construction, fabric glue or temporary adhesive can help keep the layers in place before sewing. Use it lightly. Too much adhesive can make the bag stiff or create uneven areas.
Once the layers are aligned, sew or baste around the edges to hold the structure together. Do this for each panel before joining the bag body.
Step 4: Sew or Seal the Edges
For a homemade cooler bag, sewing is the most practical method. Use a strong straight stitch and go slowly through thick areas. Backstitch at stress points.
Sewing works well for lunch bags, simple grocery cooler bags, and light picnic use. But it has a limitation: needle holes can allow small amounts of moisture or air to pass through. A sewn bag can be water-resistant, but it is not automatically leakproof.
For waterproof or leak-resistant cooler bags, heat sealing or welded seams are more reliable. Heat sealing bonds compatible materials together without needle holes. Welded construction is often used for outdoor waterproof bags and higher-performance soft coolers.
A practical rule is simple.
Sewing is suitable for basic DIY cooler bags. Heat sealing or welded construction is better for leak-resistant cooler bags.
Step 5: Add Zipper, Handles, and Reinforcement
Install the zipper along the top opening before closing the final side seams. A zipper helps reduce air exchange and improves insulation performance. For a simple DIY version, Velcro can also be used, but it will not seal as tightly as a good zipper.
Attach handles with webbing straps. Place the strap ends between the outer shell and reinforcement area. Use a box-and-X stitch pattern at each handle base. This stitch spreads the pulling force and reduces the chance of tearing.
For larger cooler bags, reinforce the bottom with an extra fabric layer, plastic board, or thicker foam. The bottom carries most of the load when the bag is full of drinks, food, and ice packs.
After the body is sewn, square the bottom corners if you want a box shape. Pinch each bottom corner so the side seam and bottom seam meet, sew across the triangle, and trim the excess. This creates a flat base and improves stability.
Before using the bag, check the zipper, seams, handles, corners, and inner liner. Small construction problems become bigger once the bag is loaded.
How to Make the Cooler Bag More Waterproof and Leak-Resistant
Waterproof and leak-resistant are not the same thing. A waterproof outer fabric can block rain or splashes from outside. A leak-resistant inner structure helps stop melted ice, condensation, or liquid spills from escaping.
A basic sewn cooler bag can handle dry ice packs and packaged food. It should not be filled with loose ice unless the inner liner is sealed. Melted ice water can find its way through stitch holes, corners, and weak seams.
To improve waterproofing, use a waterproof inner liner such as PEVA, TPU, or coated vinyl. The liner should be easy to wipe clean and should cover the full interior. Seams inside the bag should be taped, sealed, or welded if leak resistance is required.
Closure design also affects waterproofing. A standard zipper is not always waterproof. For outdoor soft coolers, a waterproof zipper, roll-top closure, or welded top structure may be needed.
For commercial production, leak-resistant construction usually requires more than better fabric. It needs sealed seams, controlled bonding temperature, clean edge finishing, and inspection after production.
This is where factory manufacturing matters. The material, liner, seam method, and closure system must be designed together.
How to Use Ice Packs to Keep a Cooler Bag Cold Longer
An insulated cooler bag performs better when used correctly. The bag slows heat transfer, but the cold source does the actual cooling.
Pre-chill food and drinks before packing. Warm drinks placed into a cooler bag will use up the cooling power of ice packs faster. Cold items stay cold longer.
Place ice packs or frozen bottles at the bottom and between items. Cold air tends to settle, and contact with cold packs helps maintain temperature. For taller bags, place one ice pack near the top as well.
Fill empty space inside the bag. Large air gaps allow more internal air movement, which speeds up warming. A towel, soft divider, or extra cold pack can help reduce empty space.
Keep the bag closed as much as possible. Every time the zipper opens, warm air enters. This matters more than many users expect. If you want to understand practical cooling time, this guide on how long a cooler bag stays cold can help set more realistic expectations.
Avoid direct sunlight. Even a well-made cooler bag will warm faster on hot pavement or in a car under strong sun. Place it in the shade whenever possible.
Do not put loose ice into a DIY sewn bag unless the liner is sealed and tested. Use gel packs, ice packs, or frozen water bottles for safer everyday use.
Good use habits can noticeably improve cooling time without changing the bag itself.

DIY, Makeshift, and Factory-Made Cooler Bags: What Is the Difference?
There are three main ways to approach an insulated cooler bag: a makeshift version, a DIY sewn version, and a factory-made custom cooler bag. They are not equal in performance.
Makeshift Cooler Bag
A makeshift insulated bag is a temporary solution made from common household materials. You can use a tote bag, backpack, towel, bubble wrap, plastic wrap, tinfoil, and ice packs.
This method can work for short grocery trips or emergency use. Add insulation at the bottom, wrap the food and cold source, add a moisture barrier, and close the bag tightly.
The limitation is clear. It has weak structure, limited waterproofing, and inconsistent insulation. It is not suitable for brand products, outdoor retail, or delivery use.
DIY Cooler Bag
A DIY insulated cooler bag is more structured. It uses fabric, foam insulation, reflective lining, waterproof liner, zipper, and webbing handles. It can be made to a specific size and style.
This is suitable for personal use, sewing projects, lunch bags, or simple picnic bags. The main challenge is consistency. Cutting, layer alignment, seam strength, and leak resistance are hard to control without proper equipment.
DIY construction is useful for understanding how cooler bags are made. It is not the best route for commercial use.
Factory-Made Insulated Cooler Bag
A factory-made insulated cooler bag is designed for repeatable quality. Materials are sourced by specification. Foam thickness, liner type, zipper quality, handle strength, printing, and packaging are controlled before bulk production.
For outdoor brands, delivery companies, promotional projects, and wholesalers, factory production offers clear advantages:
- Consistent size and structure
- Stronger seams and reinforced handles
- Waterproof or leak-resistant options
- Custom color, logo, capacity, and packaging
- Better quality inspection before shipment
If the cooler bag needs to carry heavy loads, resist outdoor use, or represent a brand, professional manufacturing is the more reliable choice. For brand owners and wholesalers, custom cooler bags provide more control over capacity, fabric, insulation, liner, logo, and packaging.
Common Mistakes to Avoid and Care Tips
Small design mistakes can reduce cooler bag performance. Some are easy to avoid before cutting the first panel.
Common Mistakes
Using insulation that is too thin is one of the most common problems. Thin foam may look neat, but it does not provide enough temperature control for outdoor or delivery use.
Another mistake is leaving gaps between insulation panels. Gaps around corners, seams, and the lid area let heat move faster.
A loose closure also weakens the design. An open-top bag with insulation is not a true cooler bag. The opening must be sealed well enough to reduce air exchange.
Poor liner choice creates cleaning and leakage problems. If the inner surface absorbs moisture, it can develop odor and stains. A wipe-clean liner is much better for food and drink use.
Weak handles are another risk. Drinks, ice packs, and food containers add weight quickly. Handles should be reinforced with strong stitching or additional backing material.
Do not use loose ice in a basic sewn DIY cooler bag. Melted water can leak through seams and damage the insulation.
Cleaning and Maintenance Tips
Clean the inside after each use, especially if the bag carried food, drinks, or ice packs. A damp cloth and mild soap are usually enough.
Let the cooler bag dry fully before storage. A damp closed bag can develop odor, mold, or mildew. Leave the zipper open until the inside is completely dry.
Check the zipper, seams, corners, and handles regularly. Small tears should be repaired early before they spread.
Avoid harsh chemicals unless the liner material allows them. Strong cleaners can damage coatings, prints, and laminated layers. If odor has already built up, this guide on how to get rid of bad smells in cooler bags may be useful.
A cooler bag lasts longer when the liner stays clean, the insulation stays dry, and the seams remain intact.
FAQ
Can I make an insulated cooler bag at home?
Yes. A homemade cooler bag can work for lunch, picnics, grocery trips, and light personal use. For waterproof or heavy-duty use, professional construction is more reliable.
Does a cooler bag need ice packs?
Yes, if you want long-lasting cooling. The insulation slows heat transfer, but ice packs, gel packs, or frozen bottles provide the cold source.
What is the best insulation for a cooler bag?
Flexible foam such as EPE, EVA, or PE foam is commonly used in soft cooler bags. It is often combined with a reflective lining for better thermal performance.
Can a DIY cooler bag be leakproof?
It can be water-resistant if built carefully, but true leak-resistant performance usually requires sealed liners, heat sealing, or welded seams.
Conclusion
Making an insulated cooler bag starts with a clear structure: durable outer fabric, foam insulation, reflective lining, waterproof inner liner, and a tight closure. The steps are straightforward, but performance depends on the details. Layer alignment, seam treatment, zipper quality, handle reinforcement, and ice pack use all affect the final result.
A DIY cooler bag is useful for personal projects and short trips. For outdoor brands, delivery services, promotional products, or wholesale orders, factory-made insulated cooler bags offer better durability, waterproofing, consistency, and customization.
FENGLINWAN manufactures custom outdoor waterproof bags and insulated cooler bags for global buyers. If you need a cooler bag with custom size, fabric, insulation, liner, logo, or waterproof construction, contact us to discuss your project.